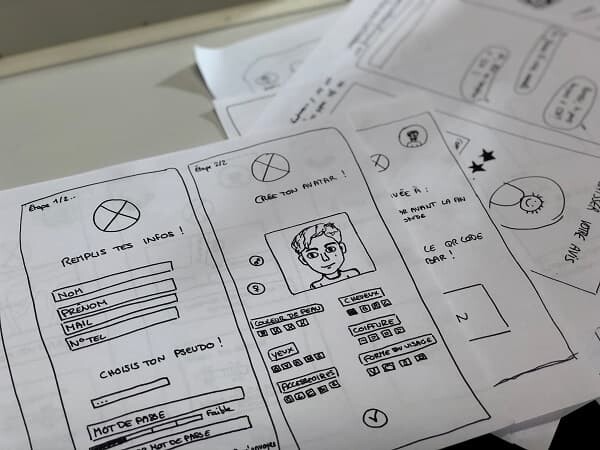
A paper prototype is a first-draft paper version of whatever you’re setting out to create and should be the first step in bringing your designs into the physical world. Taking the time to hand draw your prototype when it’s just going to be recreated in some software may seem counterproductive, but paper prototyping has been proven to save time and money in the long run.
So, what are the benefits of paper prototyping? First off, paper prototyping is one of the quickest ways to brainstorm ideas. By using simple symbols, such as boxes and circles, you can map out how your prototype is going to look and what needs to be where. You don’t have to worry about what software to make it in, what color everything should be, or what font you need to choose. By just focusing on the simple structure and layout of your prototype, you can have it all mapped out in minutes.
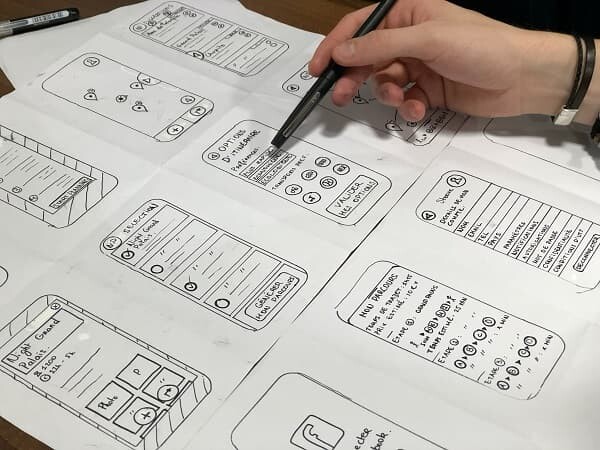
Another benefit to paper prototypes is that because they are simple to create, you can create multiple iterations of something to help you discover what would be best. Testing out multiple versions of something while in the paper prototyping stage will help you work out design problems and will help you discover early on the best way to format your prototype. You also tend to be much less attached to paper prototypes versus a prototype that has been built out in something like Adobe XD because it took you less time and effort to create. If you skip the paper prototyping and make a full prototype in XD, you may be less willing to redo it when you notice that the layout needs to be changed because it took you a good amount of time to build it in the first place. Taking the time in the beginning to make a paper prototype rough draft will save you the time it will take to readjust later.
Because paper prototypes are only rough drafts, you also tend to get more honest feedback on your designs when you show them to clients or users. If you show someone your fully built out prototype, they are going to notice you put a lot of time and effort into it. Because of this, most people are going to be less likely to tell you what you need to change because they don’t want to hurt your feelings or make you redo the whole thing. As great as humanity’s kind-hearted nature is, it doesn’t help to have our feelings spared at the price of having a bad design. However, if you show someone your hand-drawn sketch, they are much more likely to tell you what can be changed because they see it as just a draft that can be easily modified, rather than a finished product.
When it comes to creating a paper prototype there isn’t one set way to go about doing it. Typically, you will want to keep them simple and easy to understand and focus mostly on the general structure of what you’re making and how it will be organized. Use symbols like boxes and lines to represent where images and text will go, and only use words when you need to label or clarify what goes where. Keep in mind that you most likely will be using your paper prototypes to show your process in your portfolio. So when you finish a project, don’t throw out your paper prototypes, but keep them or upload a photo of them to your computer.
The time it takes at the beginning of a project to make a paper prototype will save you time in the designing process and will help produce a better design in the long run. It’s a critical part of the UX process and should never be overlooked when beginning a project.